


If you're like most professionals, always looking for ways to generate more leads, you probably find the process of browsing and viewing profiles on LinkedIn feels like a huge drain on your time when you’ve already got a super-busy schedule.
What if I told you there was a tool that could automate your LinkedIn lead generation campaigns for you? A tool that could browse on your behalf, and create the process of drip-feeding potential leads through a sequence of personalized connections and direct messages.
Dux-Soup can do just that. It helps thousands of professionals every day, to generate vast numbers of new leads and multiply their LinkedIn lead gen conversion rates. Want to know how it works?
Then take a look at this video on how to get started with Dux-Soup LinkedIn automation and see for yourself.
Get started with Dux-Soup in 5 simple steps.
And while you're here, grab a free trial so you can follow along with the tutorials.
Now read on, as we deep dive into drip campaigns and show you how to target your ideal prospects with Dux-Soup’s ‘Enroll’ feature.
First up, what does ‘‘enrolling’ mean in the Dux-Soup world? Let’s take a look at our Dux dictionary: to enroll - to add a LinkedIn profile to a Dux-Soup Campaign.
Note: Dux-Soup drip campaign ‘enrolling’ feature is available with Turbo and Cloud Dux
What is a Dux-Soup Campaign?
I'm sure you are familiar with the process of generating leads through LinkedIn as it’s a great source of potential customers. Normally you'd devise a strategy or approach that includes content and outreach activities designed to nurture prospects towards a defined objective. This is what we'll term a 'campaign'.
A Dux-Soup drip campaign is a stack of up to 12 LinkedIn actions that can be automatically sent over a certain period of time. You can set your drip campaign in the Dux-Soup Dashboard or Dux-Dash.
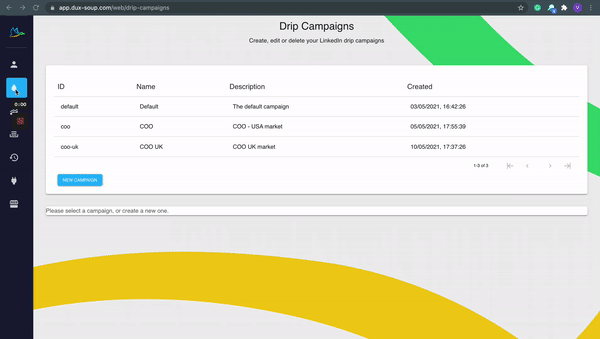
The drip campaign feature allows you to define your campaign actions, timing, and message content, giving you control over how and when you engage with prospects.
You can set individual actions to be profile visits, follows, endorsements, like a post, InMails, connection requests and messages. And with Dux-Soup you can target them in regular LinkedIn, Sales Navigator or Recruiter.
Read more on set up Dux-Soup drip campaigns in our handy guide.
How to set up smart drip campaigns.
Or watch the short video tutorial how to create drip campaigns with Dux-Soup.
Moreover, you can enroll profiles into multiple drip campaigns simultaneously, all on auto-pilot.
Once you've created a drip campaign, it's time to start enrolling profiles.
How to enroll profiles into a Dux-Soup drip campaign
The enrollment process is simple and straightforward, but you do have a few options. You can enroll profiles in a campaign manually, allowing you to handpick your target prospects, or through an automated system to help reduce time. Here are the 5 ways that you can enroll or add a profile to the campaign:
- Manually- from the Dux-Soup Tricks Widget
- In bulk - using the ‘Enroll Profiles’ option located in the drop-down menu
- In bulk - via your Funnel Flow by copy-pasting URLs or enrolling from a file
- From Dux-Soup native integrations - Hubspot CRM, Pipedrive CRM, Zapier or Make (formally Integromat)
- Using the Dux-Soup API
In this blog, we’ll focus on the first two options - manual/semi-automated and bulk/fully-automated enrollment. For more information on the ways you can enroll a profile into a campaign from Dux-Soup native integrations or using Dux-Soup API, read the blog about how to create smart LinkedIn lead generation campaigns.
Semi-automated or manual enrollment
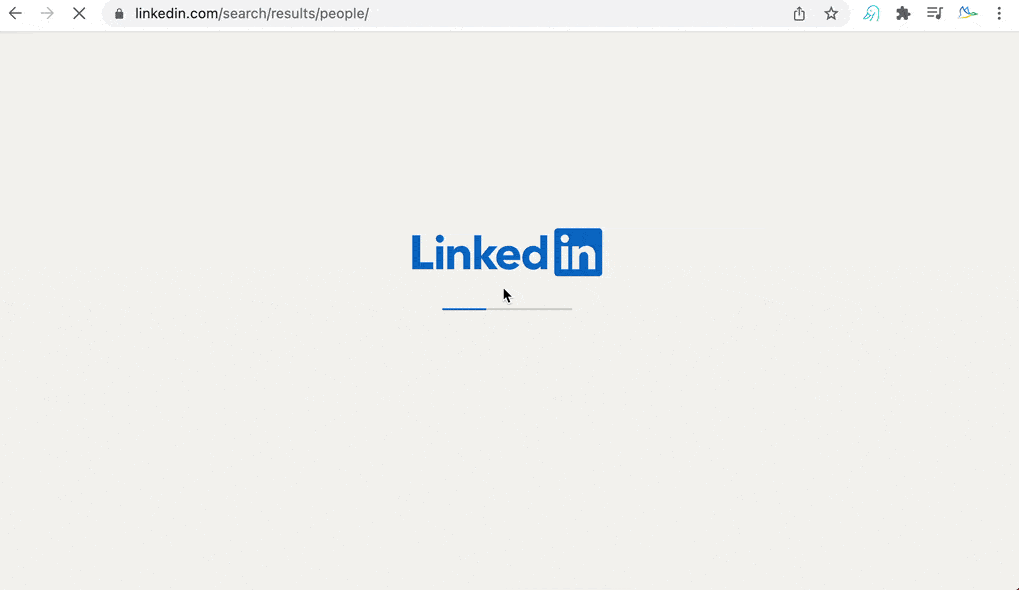
If you want to manually select individual profiles to enroll in your LinkedIn drip campaign, use the Dux-Soup Tricks widget. For Dux-Soup Tricks to appear, create a LinkedIn search and you will see a white Dux-Soup Tricks icon located on the right-hand side:
From here you can choose the campaign you wish to enroll a profile into and then click 'Enroll'. Your preferred campaign will be pre-selected by the tricks widget. (Note that you can select your preferred campaign from the main drip campaign menu.)
Once you click 'Enroll' Dux-Soup will automatically schedule the first action in the drip campaign. If you want to check, head to your 'Queued Activity' in the Dux-Dash and you'll see it appear there, or in your 'Activity Log' once the action has been completed.
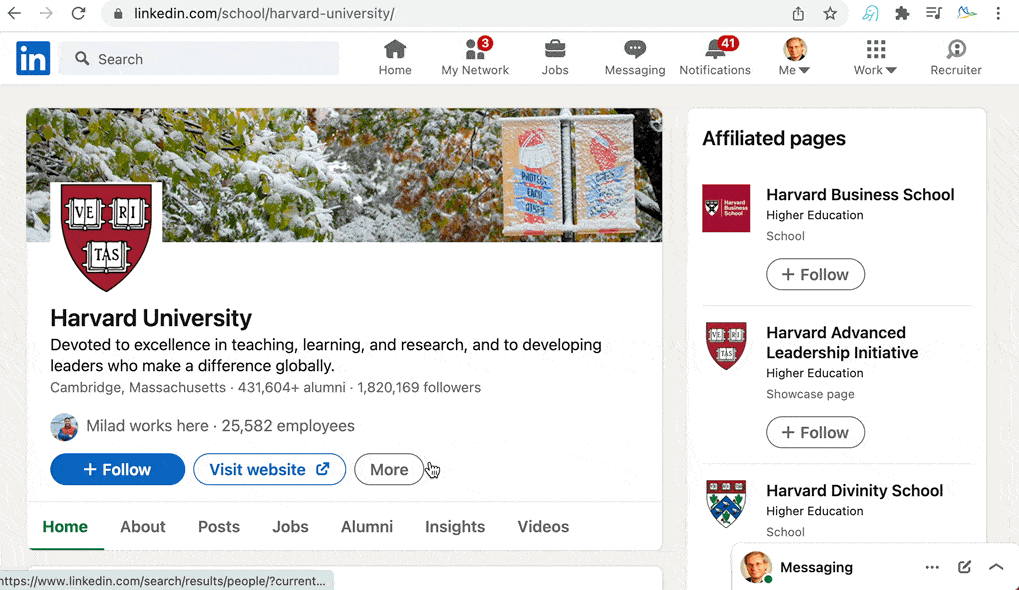
You can also enroll profiles when you are browsing them manually, from their profile page:

Once you've enrolled a profile, Dux-Soup will schedule the first action of the drip campaign. Once each action has been completed, Dux-Soup will schedule the next action according to the delay set within the campaign editor.
If have sent a connection request, any further direct messages will only be scheduled once the request has been accepted and the prospect becomes a 1st degree connection.
Fully-automated or bulk enrollment
To add profiles into a Dux-Soup drip campaign in bulk, make a search on LinkedIn, Sales Navigator or Recruiter, wait for the ‘At your service’ message to appear and hit the Dux-Soup icon. Afterwards, select the ‘Enroll Profiles’ option from the drop-down and verify the campaign name:
The ‘Enroll’ option allows Dux-Soup to add LinkedIn prospects to multiple drip campaigns but you'll need to enroll them separately for each campaign.
The other way to enroll is by going to your Funnel Flow and choosing one of these two options:
- Enroll from clipboard: you can copy and paste URLs directly into the text box and then select the campaign you want
- Enroll from file: you can enroll profiles in a drip campaign by uploading a text or CSV file to the Dux-Dash Funnel Flow page. Alternatively, you can drag and drop the file into the Funnel.

Enrolling profiles into multiple Dux-Soup drip campaigns
You can add profiles to multiple drip campaigns. The process is pretty much the same, however, when enrolling a profile into the second or third drip campaign (there is no limit), consider the following:
- When enrolling a 2nd or 3rd-degree profile into a 2nd campaign before an invitation has been accepted, only the follow-ups of the most recently enrolled campaign will be scheduled when the target accepts the connection requests.
- If a connection request has already been sent, then no connection request will be scheduled for the 2nd campaign.
- Follow up messages will only be scheduled if the “follow up” option has been enabled in Dux-Soup options “Automated Followup Messages”. The follow ups that are scheduled are determined by the campaign in which the profile was enrolled.
- You won’t be able to add the same prospect to the same campaign twice, which means you can enroll everyone on the list without worrying they will be added back in to the same campaign.
To check the campaign status for a particular prospect, open their LinkedIn profile and click on the Dux-Soup Tricks Widget. Then, select the campaign and you will see what actions are about to be taken. For example, this profile has passed the connect stage and it’s about to receive drip messages:

Now you know how to enroll profiles and start the Dux-Soup drip campaign. To monitor the progress of your campaign, head to the Dux-Soup Funnel Flow. Here you can:
- See your conversion rates
- Read messages sent and received for a particular profile
- Qualify in, reflow or qualify prospects out of your lead generation funnel
- Select a specific campaign
- Choose a timeframe
- Copy the data from a particular section
- Enroll profiles or copy prospects from one campaign to another
Note - Before you start, make sure you have set your daily limits in the Options, Throttling tab and don’t forget to use the Dux-Soup Funnel Flow to monitor responses and act accordingly. Consider all the actions you are expecting Dux-Soup to carry out when setting these limits (i.e. profile visits per day, 1st degree messages and connection requests).
Learn more about our recommended daily limits by reading our guide on LinkedIn profile visiting.
Don't forget you can try Dux-Soup for FREE, for 2 weeks if you're not already a Dux user.


