


Updated February 2026
What’s an InMail?
InMails - now called InMail Messages, are direct messages that you can send to a person that you are not connected to on LinkedIn. They allow you to build relationships with people outside of your network and are a key tool used by recruiters who cannot use invitations to connect with potential candidates.
There are some great Dux-Soup hacks you can use with InMails, making them a really powerful tool for sales and marketing professionals looking to uncover new leads.
In order to use InMail Messages with Dux-Soup, you will need a Sales Navigator account. You get 50 monthly InMail Message credits each month with Sales Navigator.
Note: you can accumulate InMail credits from month to month, but they will expire after 120 days.
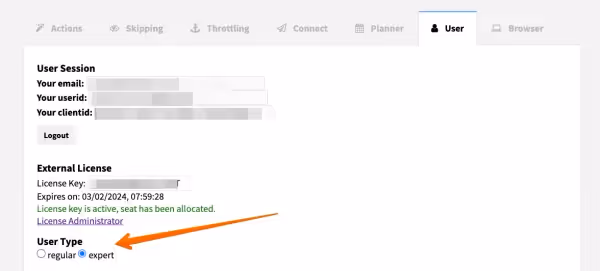
This blog post showcases an expert user interface. If you don't see some of the features mentioned in the post, don't worry! Just make sure that you've enabled the "expert" settings in the Options section under the User tab. That should do the trick!
InMail Messages vs Connection Requests
As covered earlier, InMail Messages can be used by Premium LinkedIn users who want to connect with people outside their professional network, recruiters or candidates. In an InMail, you can have up to 2,000 characters in the body and you must enter the subject line to send it.
A connection message is a free message that you can send to 2nd and 3rd-degree connections asking them to connect. It has a maximum length of just 300 characters and you don’t need to have LinkedIn Premium account to send it.
So why would you choose to send an InMail Message? Well, InMails are proven to have better response rates and will ensure that you are noticed amongst other types of messages. LinkedIn states that InMails have a 57.5% open rate and a 3.5% click thru rate.
There are two ways to use Dux-Soup to send InMail Messages.
Sending InMail Messages with Dux-Soup Pro and Turbo via the extension
Dux-Soup Pro and Turbo users can send InMails as a standalone action via the Dux-Soup extension. To access the InMail feature, click on the Dux-Soup extension icon on your browser and click on Options.

On the Actions tab, under the “Automated Actions” section, enable the option to send InMails during visits using Sales Navigator or Recruiter:
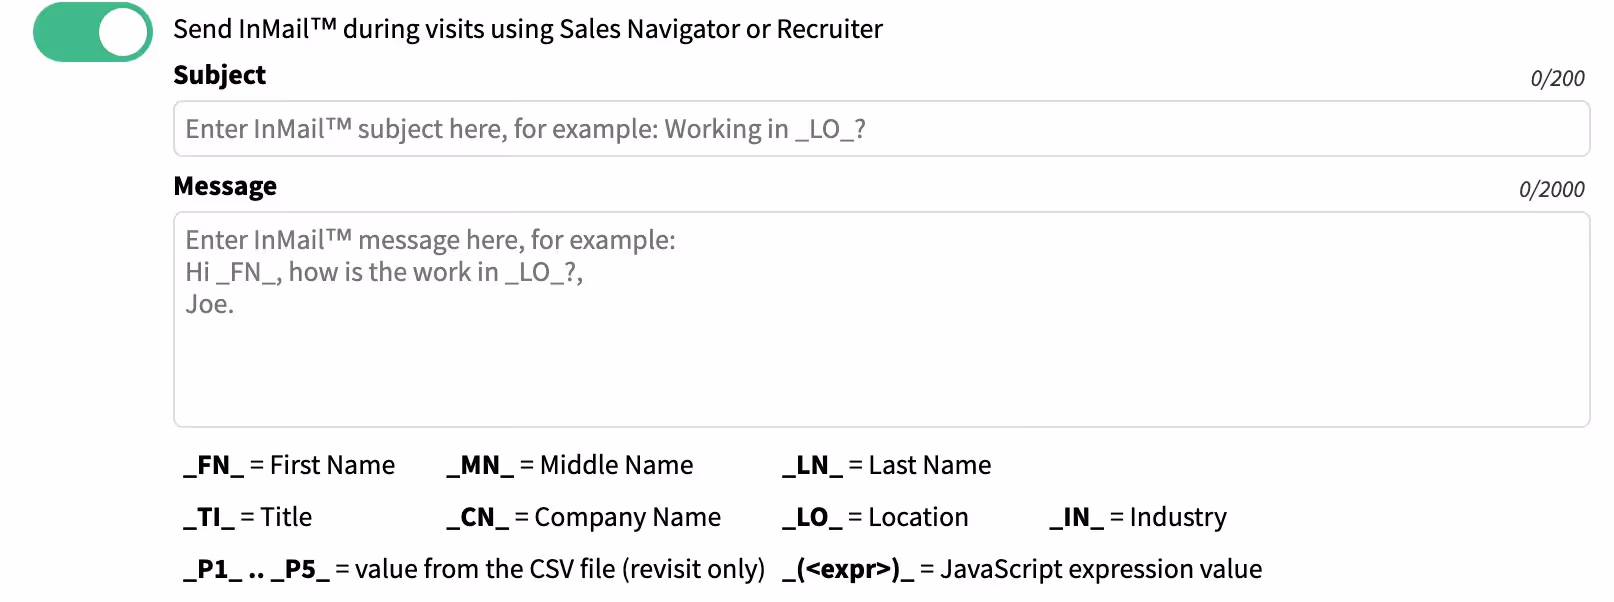
Now enter your subject line and the main message, using the personalization markers where appropriate.
Adding InMails to your drip campaigns
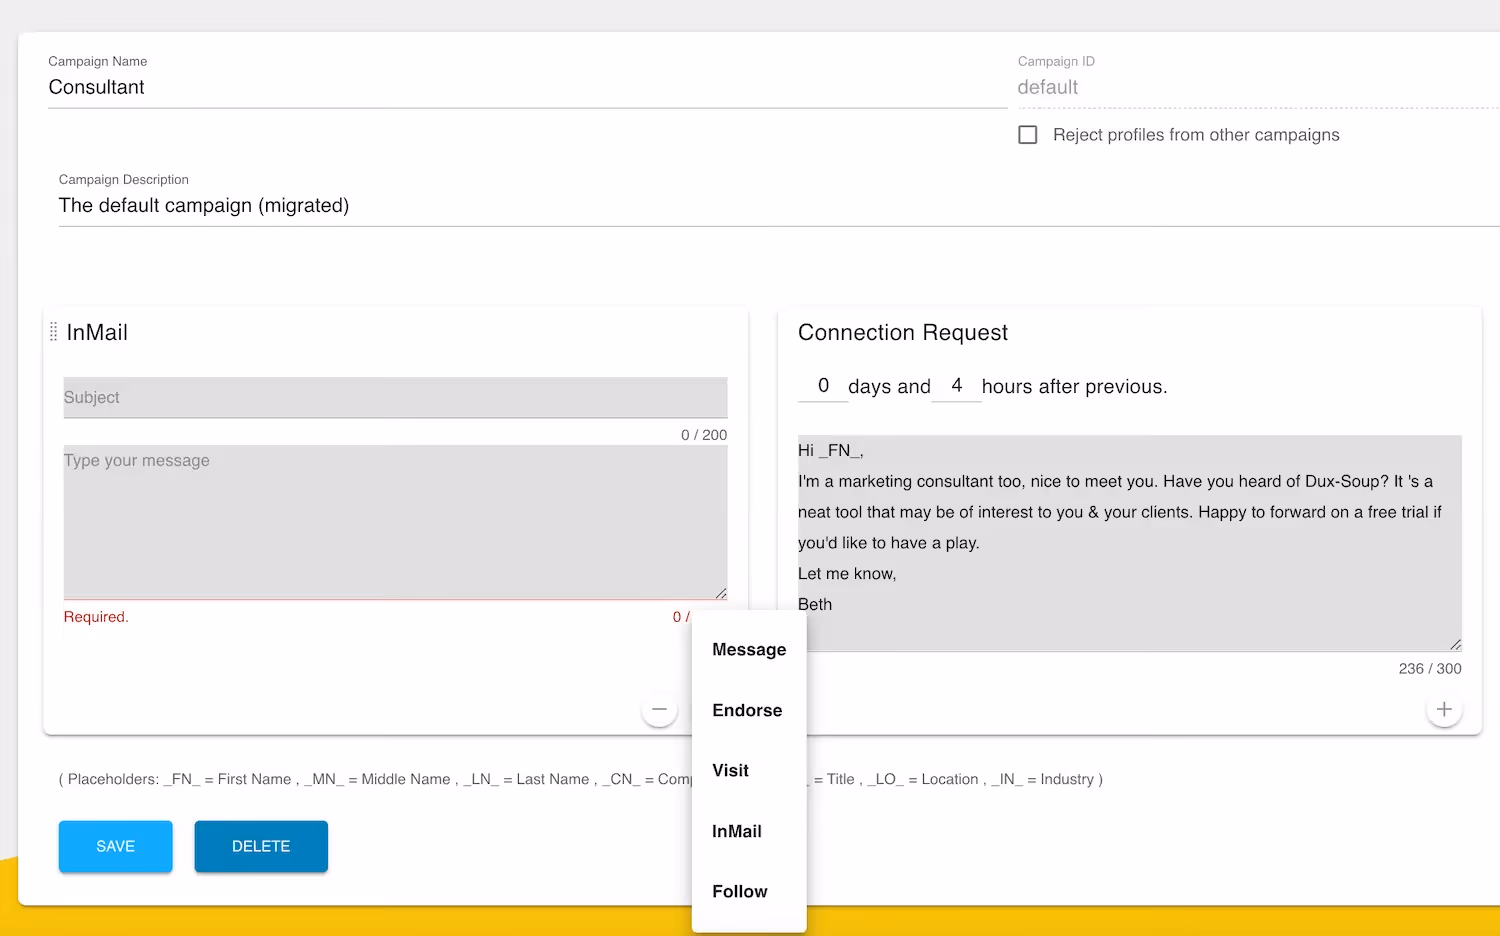
If you have a Turbo or Cloud license, we recommend adding InMails as an action in your drip campaign sequence. This means you can automate the follow-up of InMails sent by a connection invitation, and up to 10 more automated LinkedIn actions after that. And you'll be able to see the stats of your campaign in the Funnel Flow, allowing you to analyze your results.
Note: You'll need to set your campaign target as Sales Navigator otherwise your InMail messages won't send.
LinkedIn InMail Tips
When it comes to sending LinkedIn InMails, you need to make sure your message stands out. Just imagine how many InMails and connection requests one receives every day on LinkedIn. That’s why your message needs to be relevant and (most importantly!) personalized.
According to the research conducted by the Business LinkedIn team, here are some tips for InMails that guarantee more opens:
- Keep the subject line clear and specific.
- Personalize your message — it’s easy to tell when you receive an automated, scripted message because it has no character to it. Your InMail's content should also demonstrate your genuine interest in the recipient as a unique individual.
- Keep it short and sweet - The shortest InMails(under 400 characters) have a response rate that is 22% higher than the average response rate for all InMails.
What’s great about Dux-Soup is that it has various personalization markers to help you customize every message and tailor it to every individual LinkedIn profile.
When your message is ready, close the options window and go back to your Sales Navigator account. Go to your Sales Navigator account and click on the search field.

Here you need to choose your search filters. Choose as many filters as you like to make sure you end up with the list of relevant profiles: pay attention to the industry, the job roles you want to target and the location of your target lead.
Once you are happy with your filters, then click on “Search”


As you see from the example, my search returned 220 relevant profiles. If you've set up your InMail message in your extension, the next step is to click on the Dux-Soup icon and choose Visit Profiles.
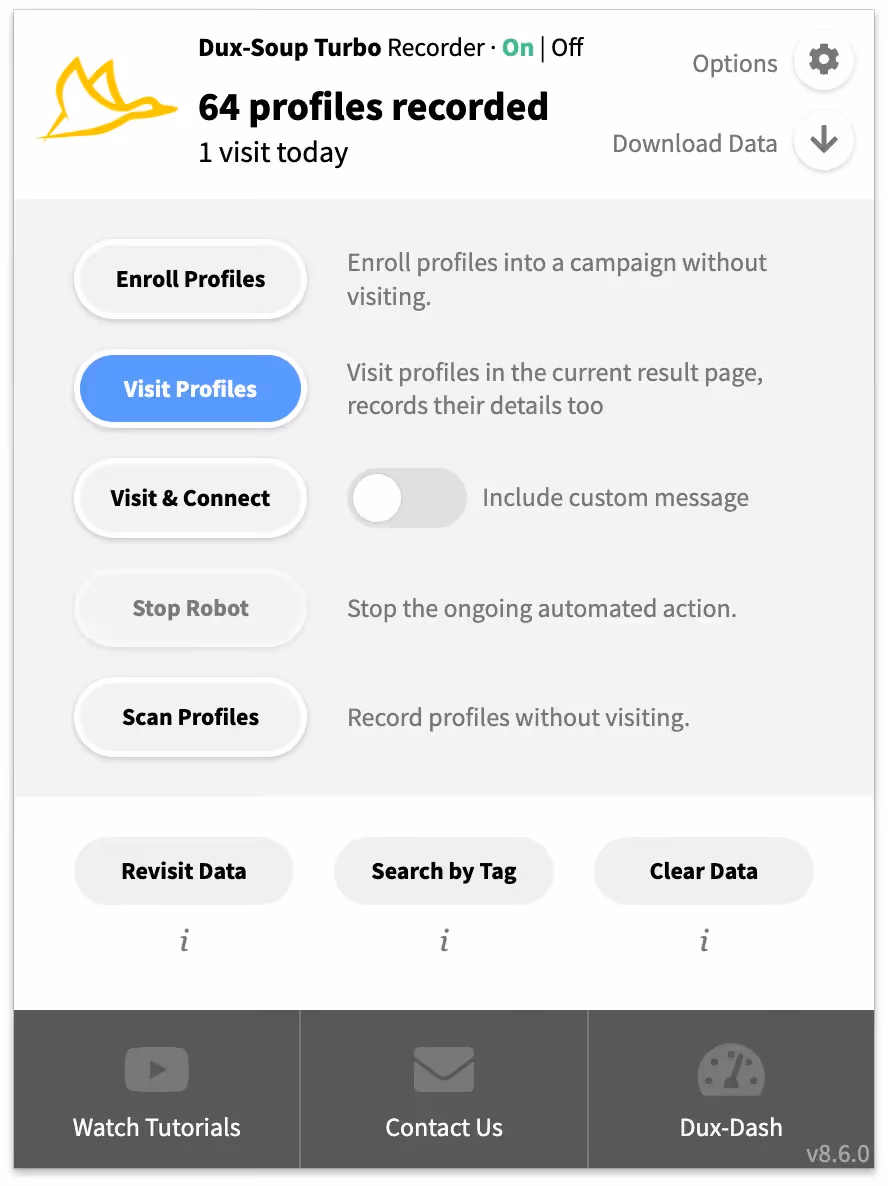
Now Dux-Soup will start sending InMails to each profile in your list until it uses all of your credits.
If you've set up your InMails in your drip campaigns, just click on the 'Enroll Profiles' button instead, and select the correct campaign to enroll them into. It's as easy as that!
Read more on using Dux-Soup with Sales Navigator.
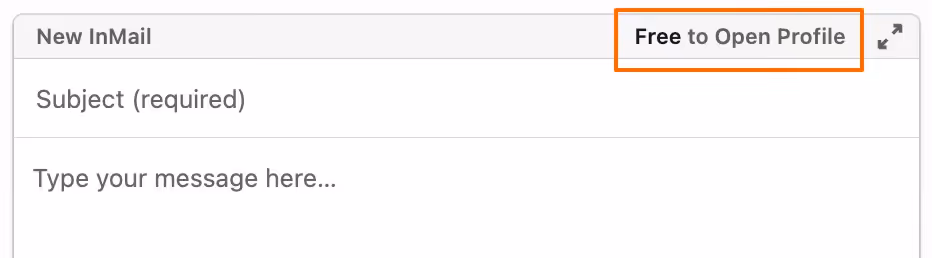
How to send InMail Messages for free
Here's a great little hack. If you’ve run out of InMail credits or are using a free subscription, you still have the option to send free InMails to members with OpenLink profiles.
Dux-Soup has a skipping option that allows users to skip profiles that are not Open Profiles:
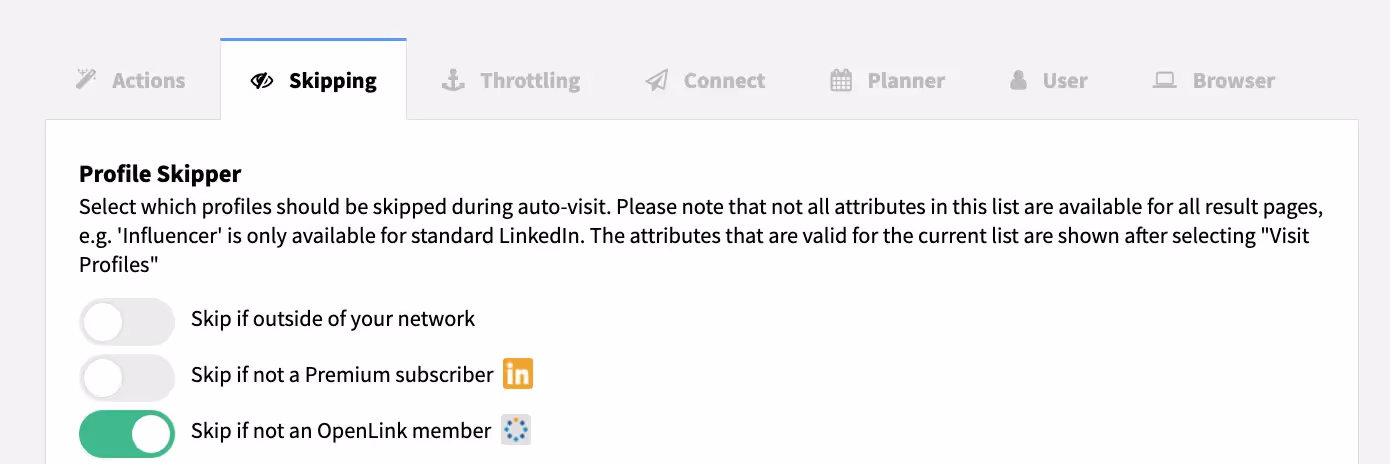
You are typically allocated around 800 OpenLink InMails per month.
For our Turbo and Cloud users, you can set up an InMail campaign for Open profiles and add the InMail step at the beginning of the drip campaign sequence.
So that’s everything you need to know about sending InMails with Dux-Soup.
We hope you found this post helpful, and if you need any help or have any comments, send them over to info@dux-soup.com and we will get back to you to help!


